
Drill 1: Inhaling down in lying position on abdomen.
The opening position for beginners is the prone lying position, for several reasons:
Lower part of chest is in touch with ground preventing ribs from moving forward. Arms are supported by inner side of elbows (partially also by forearms). This helps with fixation of points of support, activation of muscles around rib cage (chest, back, deltoids and others) and also support of shoulder blade stabilization. If serratus anterior is activated, shoulder blade will become part of the stabilization chain muscles together with rhomboids (working in decelerating/eccentric regiment during shoulder blade stabilization). Most people don’t realize this when they work out and push shoulder blades towards mid line (spine) of the body. Serratus anterior (connected to the shoulder blades and ribs) is part of muscle chain starting from spine towards shoulder blade and ongoing to ribs and pelvis. Lateral parts of ribs are place, where the activity of serratus anterior and abdominal oblique’s is being tied together. You could simply say, that thanks to fixation from the other side they have something to hold on to. During inhaling, abdominal muscles work in eccentric (decelerating) action. Just picture this as a belt protecting lower back. We cannot forget diaphragm cooperating with external stabilization of lower back.
Your head is resting on forehead with visualization of pulling it away. Forehead support induces physiological engagement of neck stabilization muscles mostly neck flexors (such as muscles located at the back and side of neck) even though your forehead rests on the floor, push (not intentionally) forehead into the floor.
Activation of deep neck flexors (part of spine stabilization system), induces activity of deep abdominal muscles. Because head is actively held (pulled), you activate not only deep flexors, but also neck extensors.
The drill of inhaling down – How to …
To see how to execute inhaling down see pictures 1 – 4.
Picture 1 – Key points – lying on belly, head resting on back of hands. To ensure crown is pulled into the distance, induce an image that the crown itself is supported by a small ball. No muscles engaged, body is resting. Feeling of lose muscles is important and if this cannot be achieved by this particular position, place your hands a bit lower with forehead on them (known as “candelabrum”) see picture 2. To induce shoulder relaxation let your training partner slightly touch upper part of trapezius muscles. Do not push them apart by force, just wait until the shoulders will relax by themselves, will shift sideways and down and be patient, because relaxation is not turning up immediately.
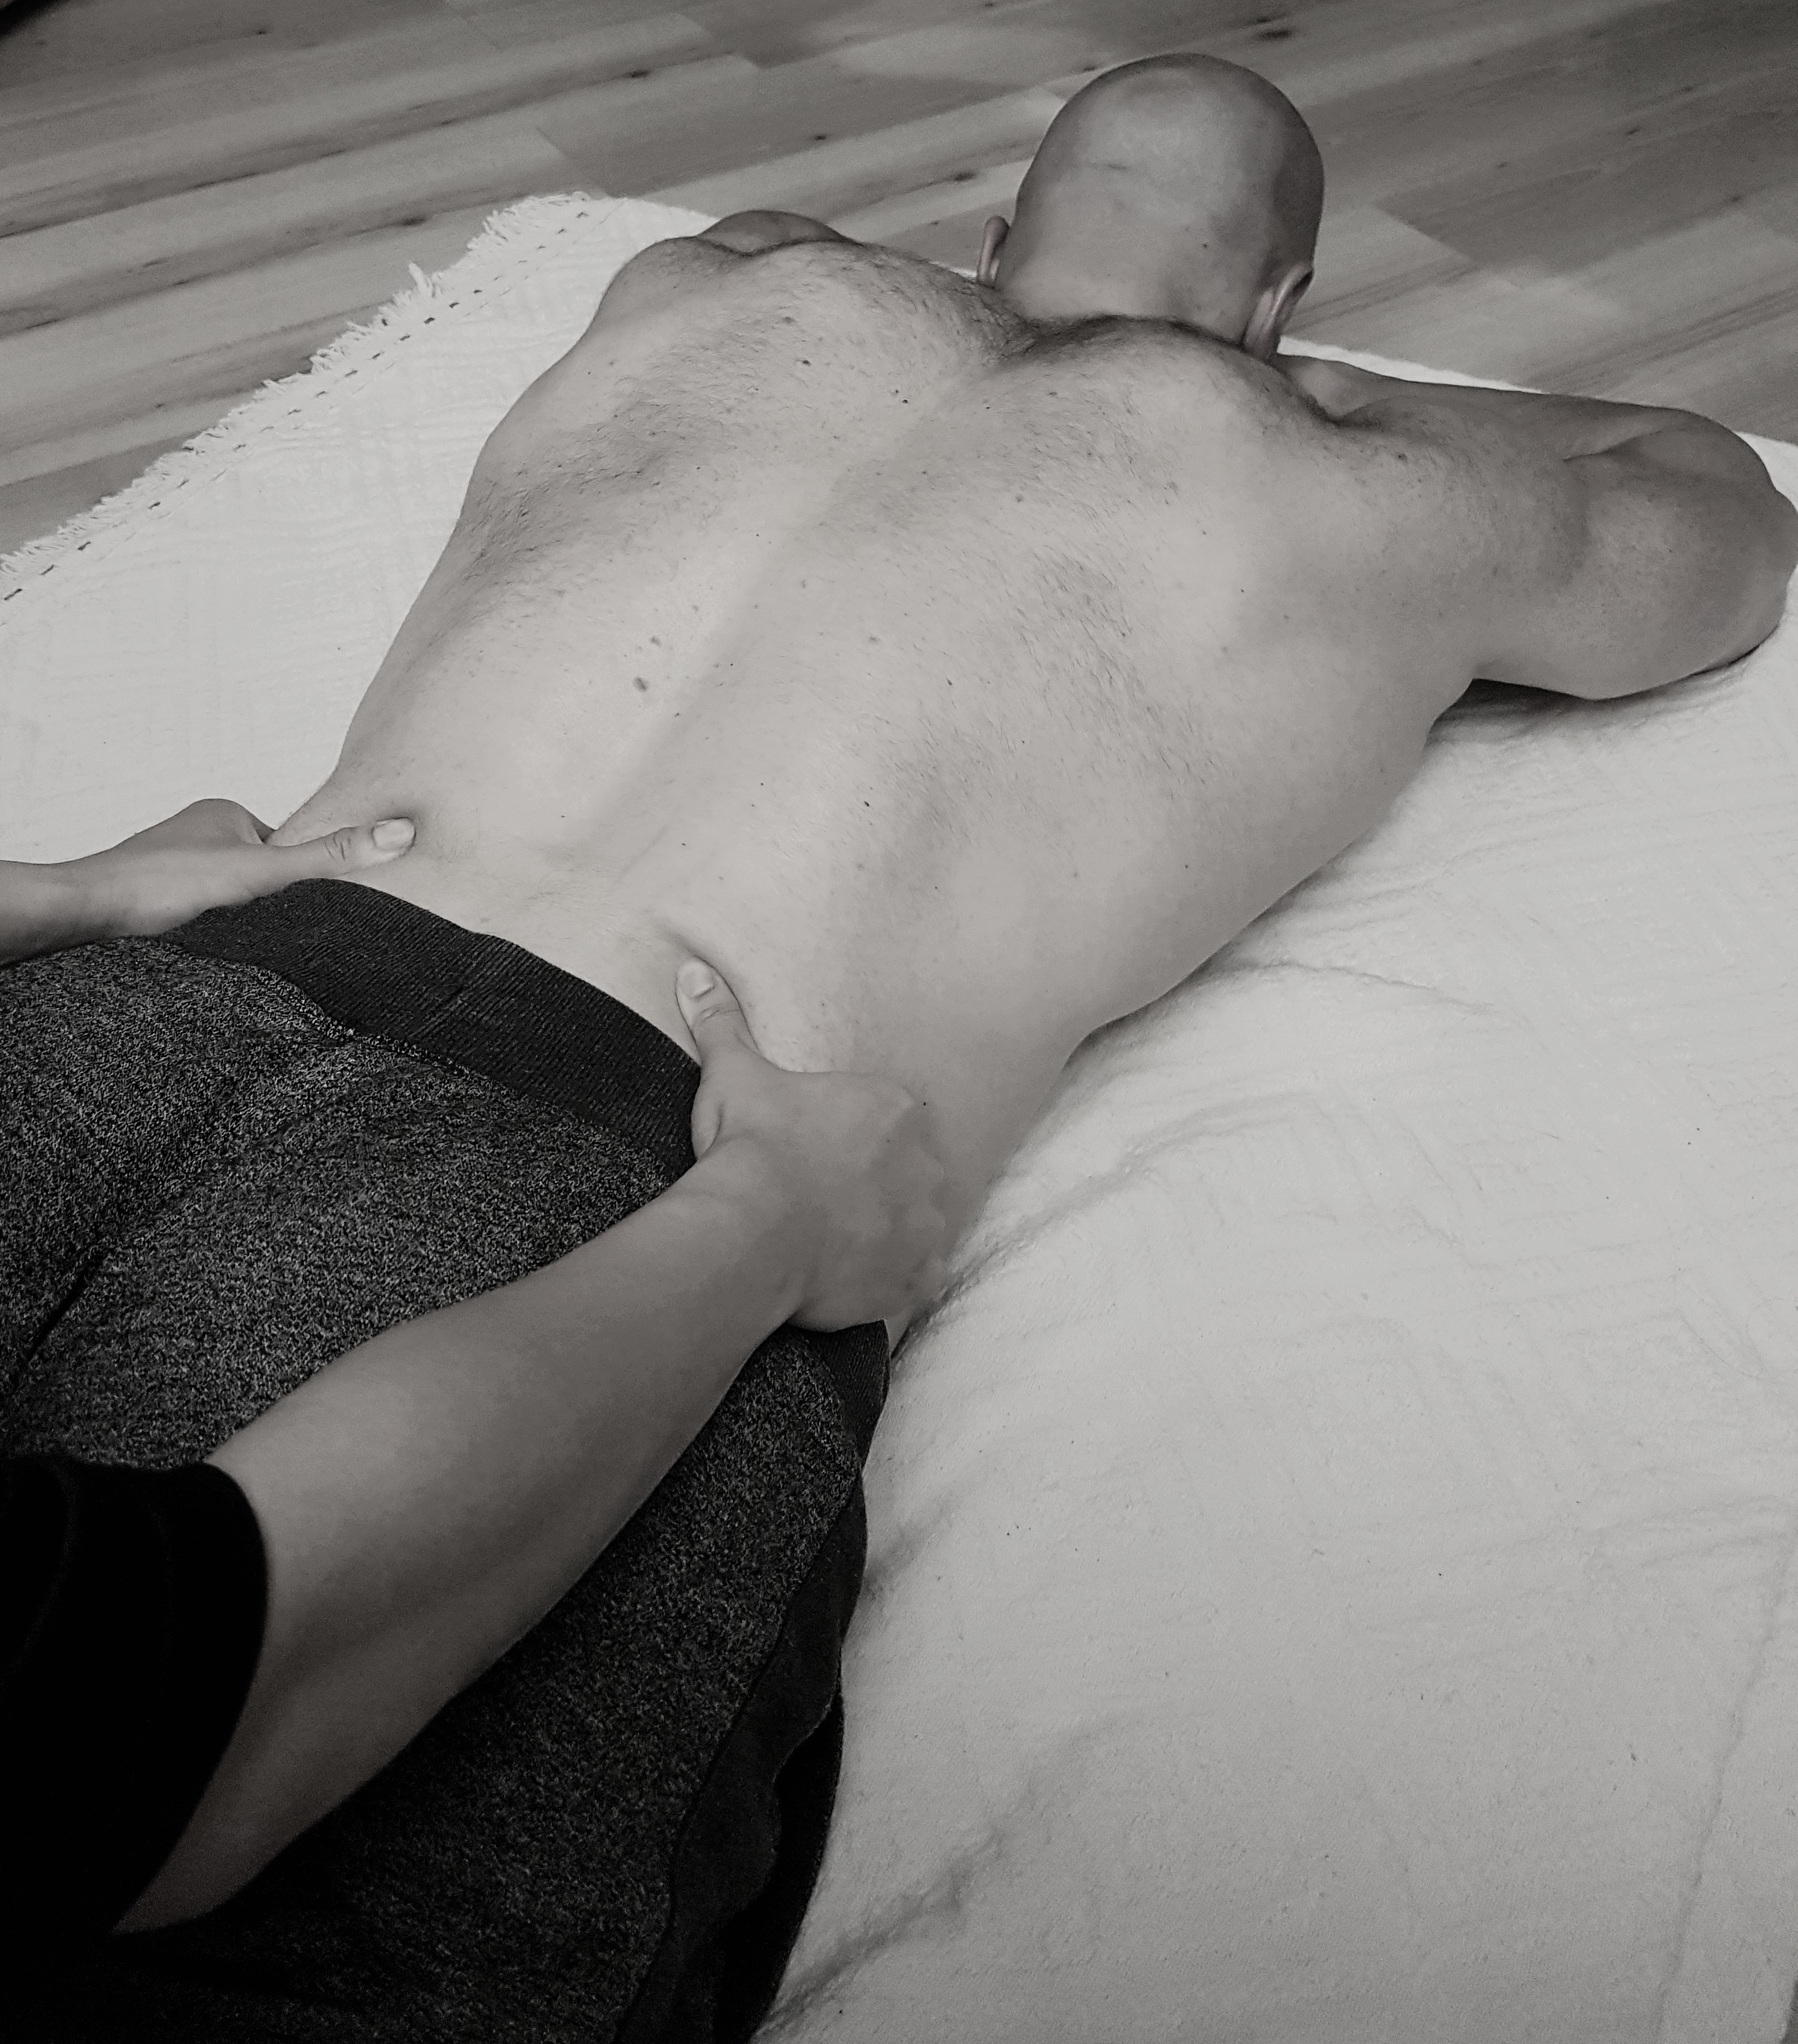
This is called “The first touch point” (there will be two other ones) and is located at the back next to the spine extensors under last rib (“trigonum lumbale”). To make it simpler, inhale into the kidneys or under them this is even more accurate – pictures 1-3. Picture 3 shows increased pressure under fingers. Why? Because touch induces the information how and where to breathe in. This might be easier to understand to someone who is interested in Chinese traditional medicine, where breathing is controlled exactly this way – through kidneys. Inhaling down will relax lower back extensors, do not tilt your pelvis or arch your lower back into kyphotic shape. By spreading out fingers you will help with focusing the breath into these three spots.
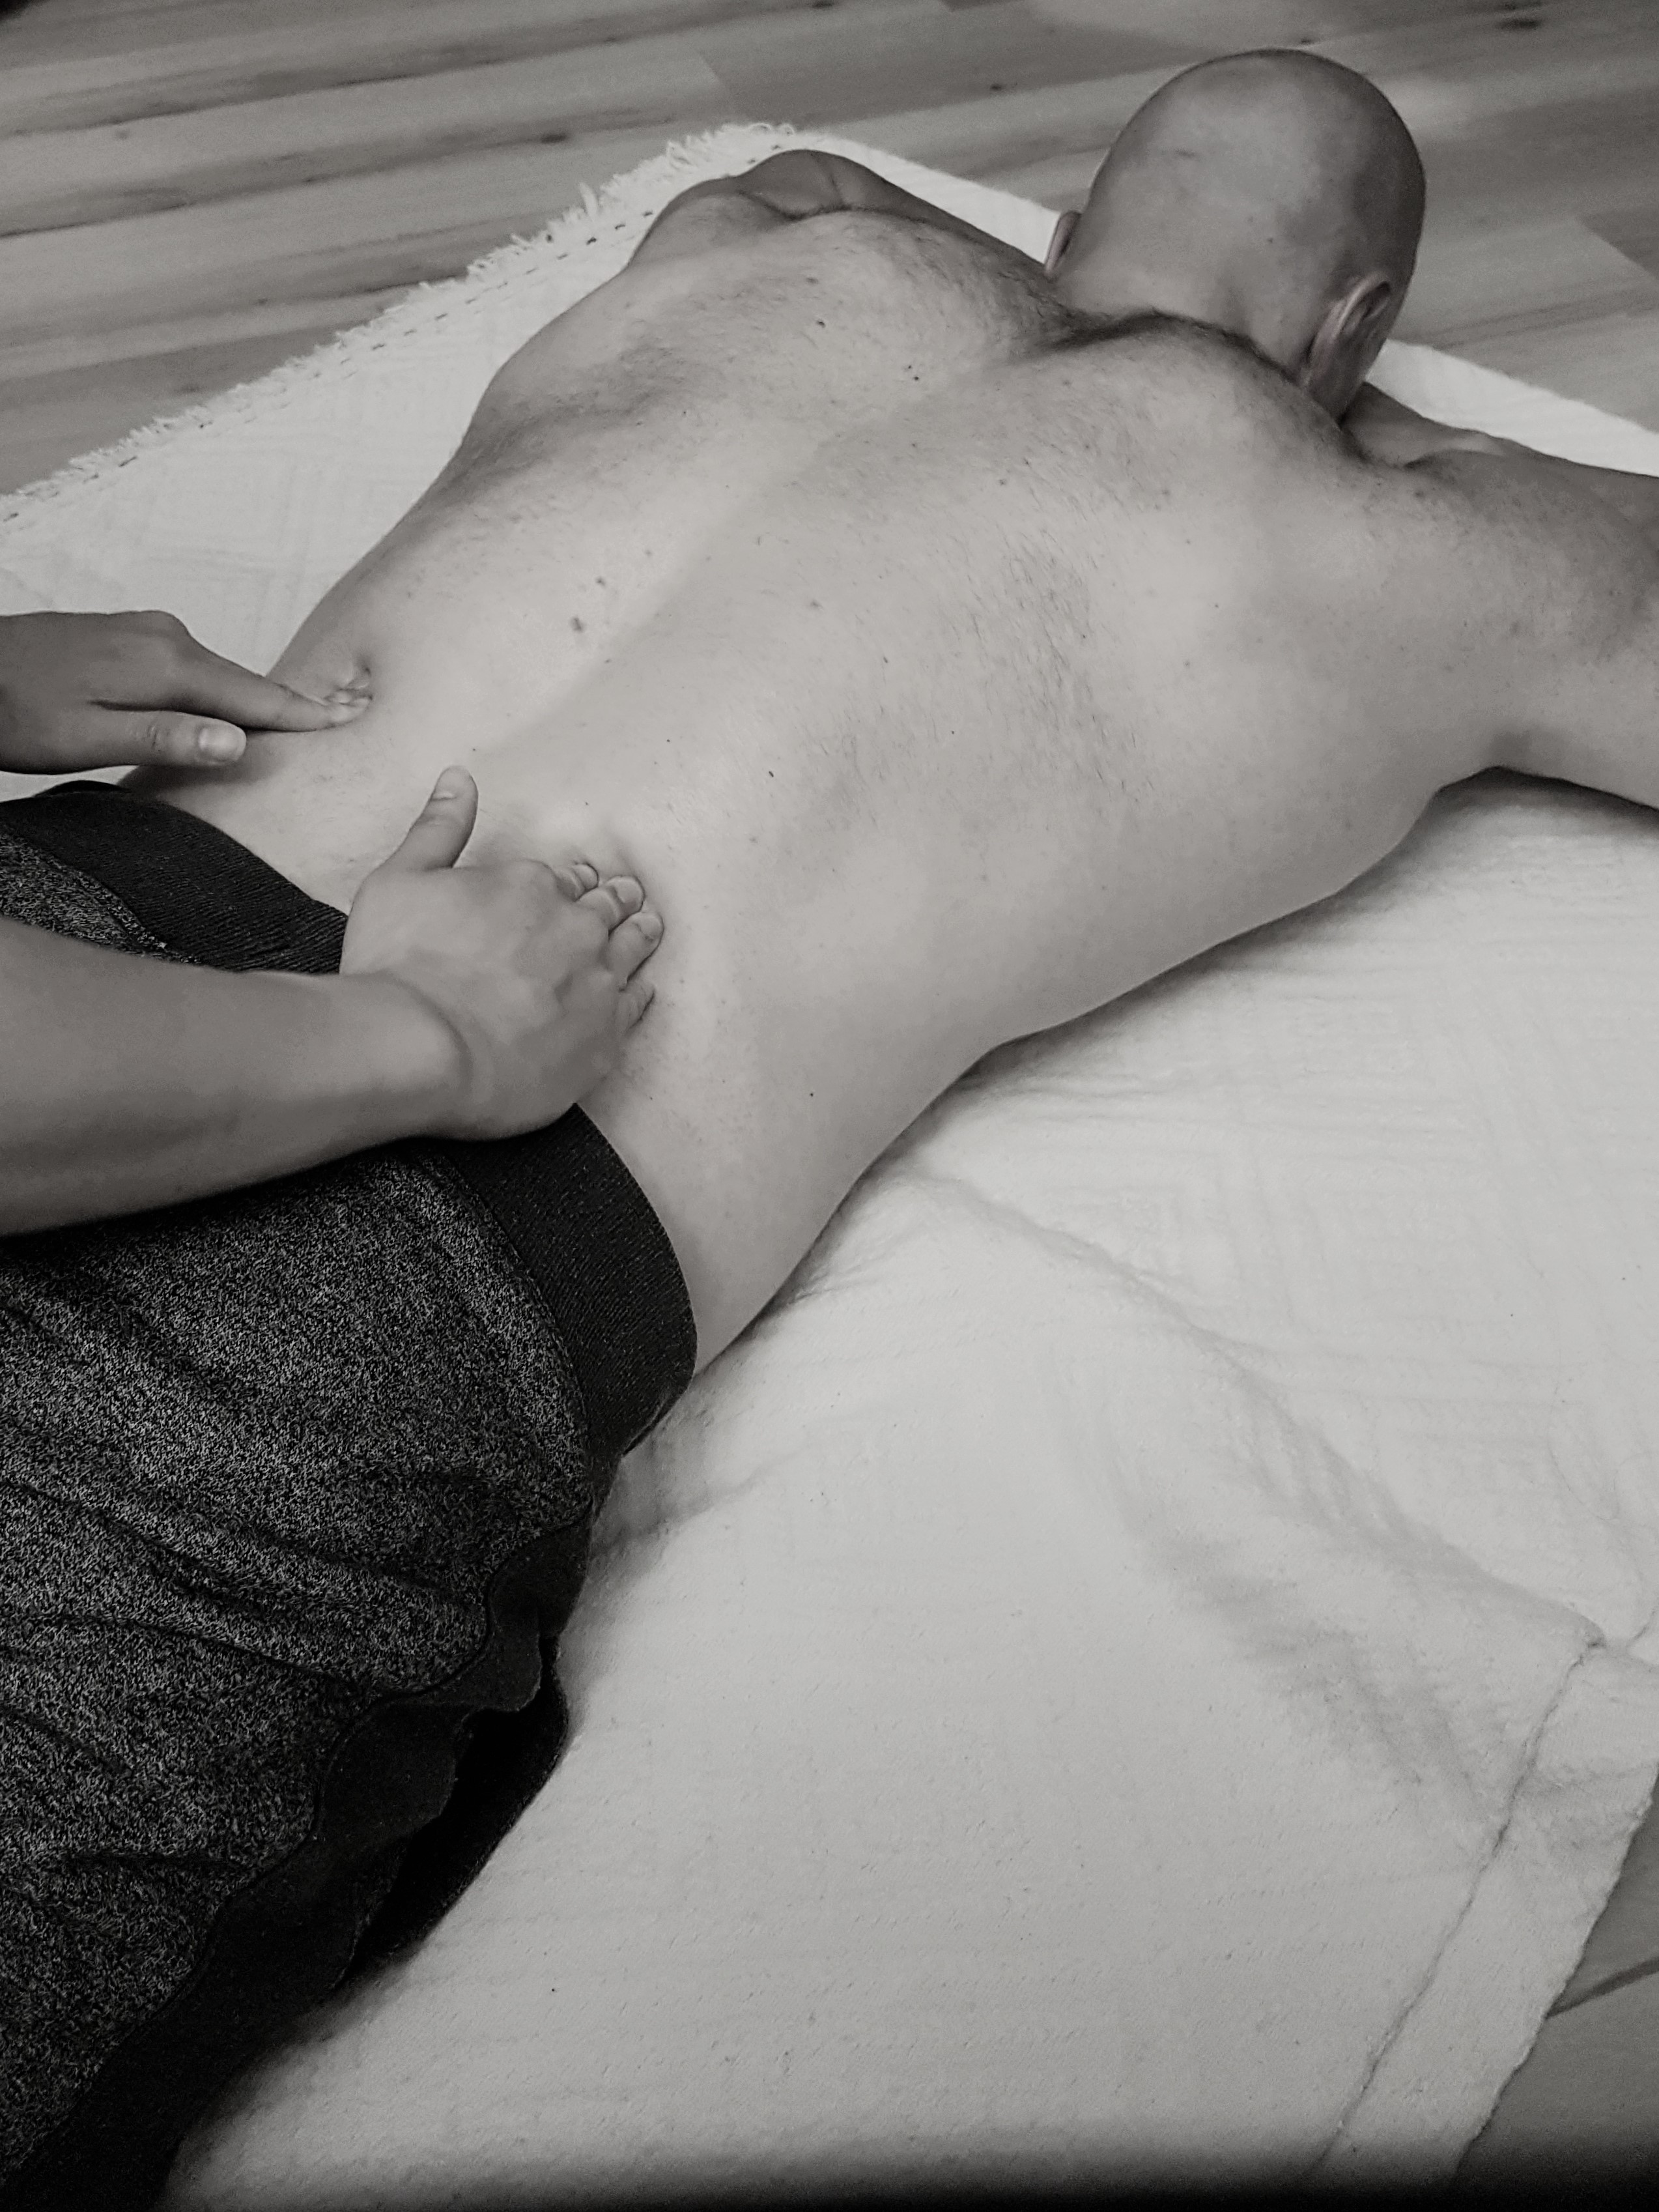
Picture 1 – first point of touch
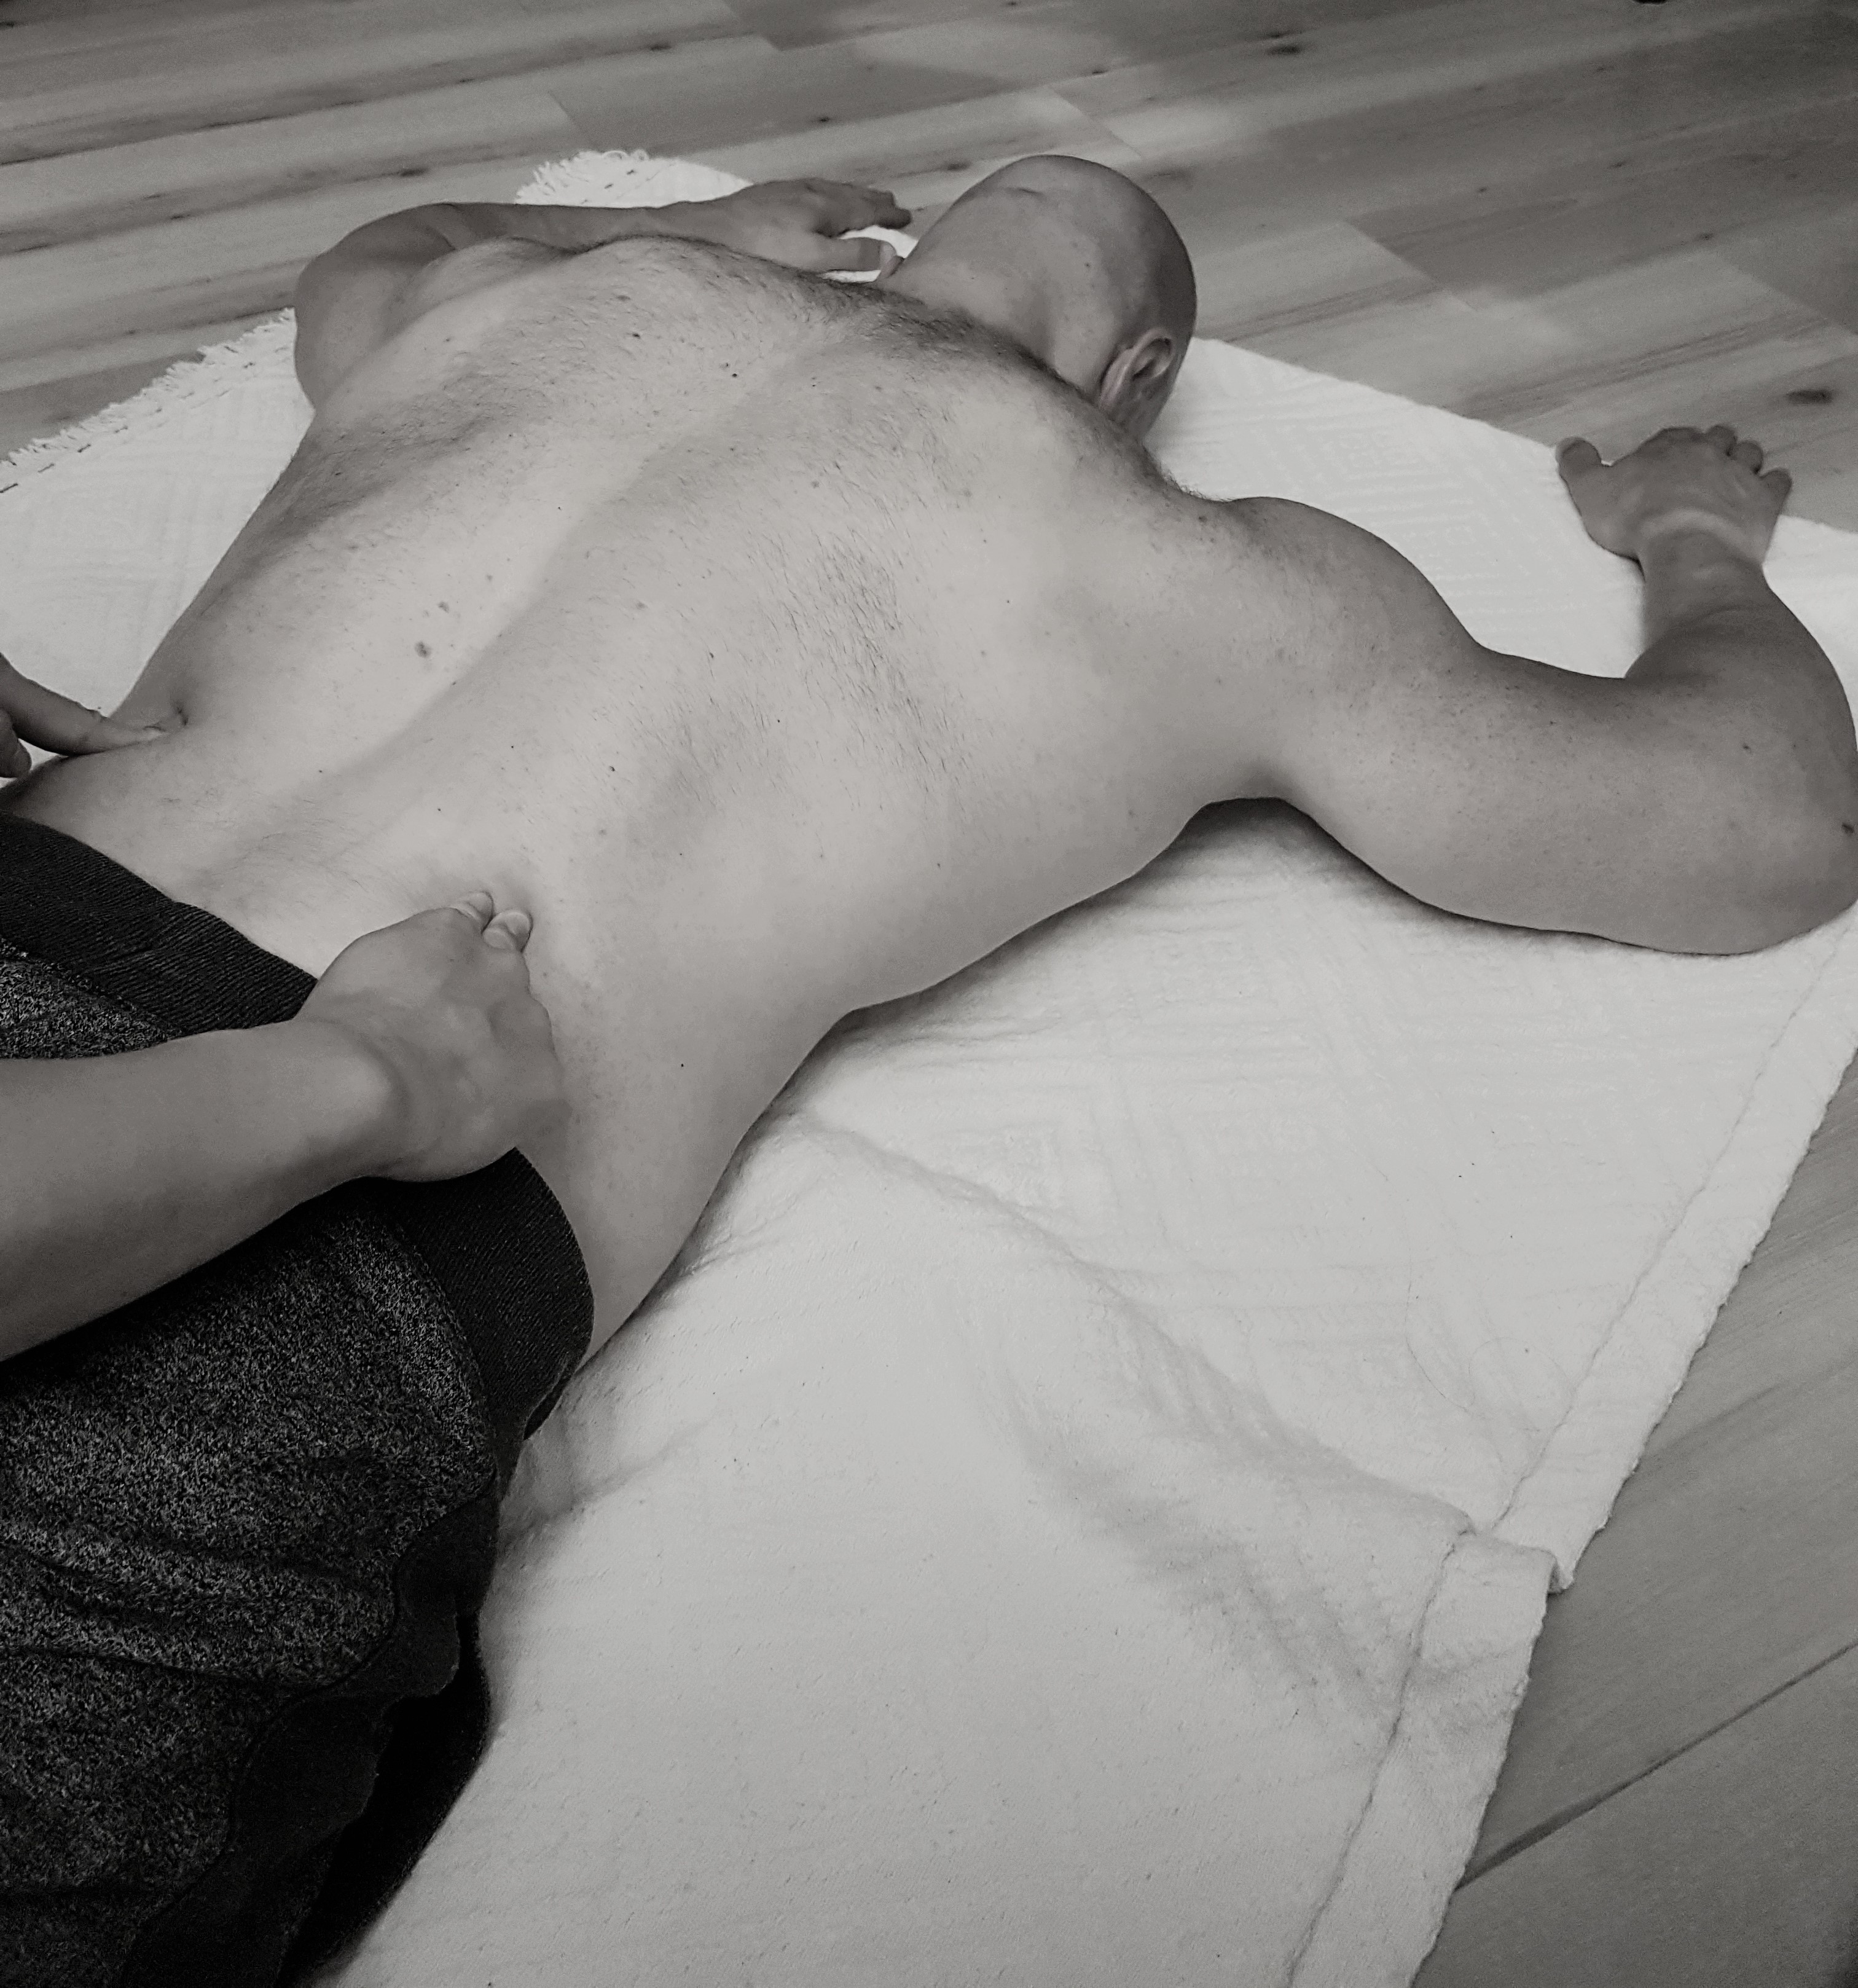
Picture 2 – first point of touch, arms in candle

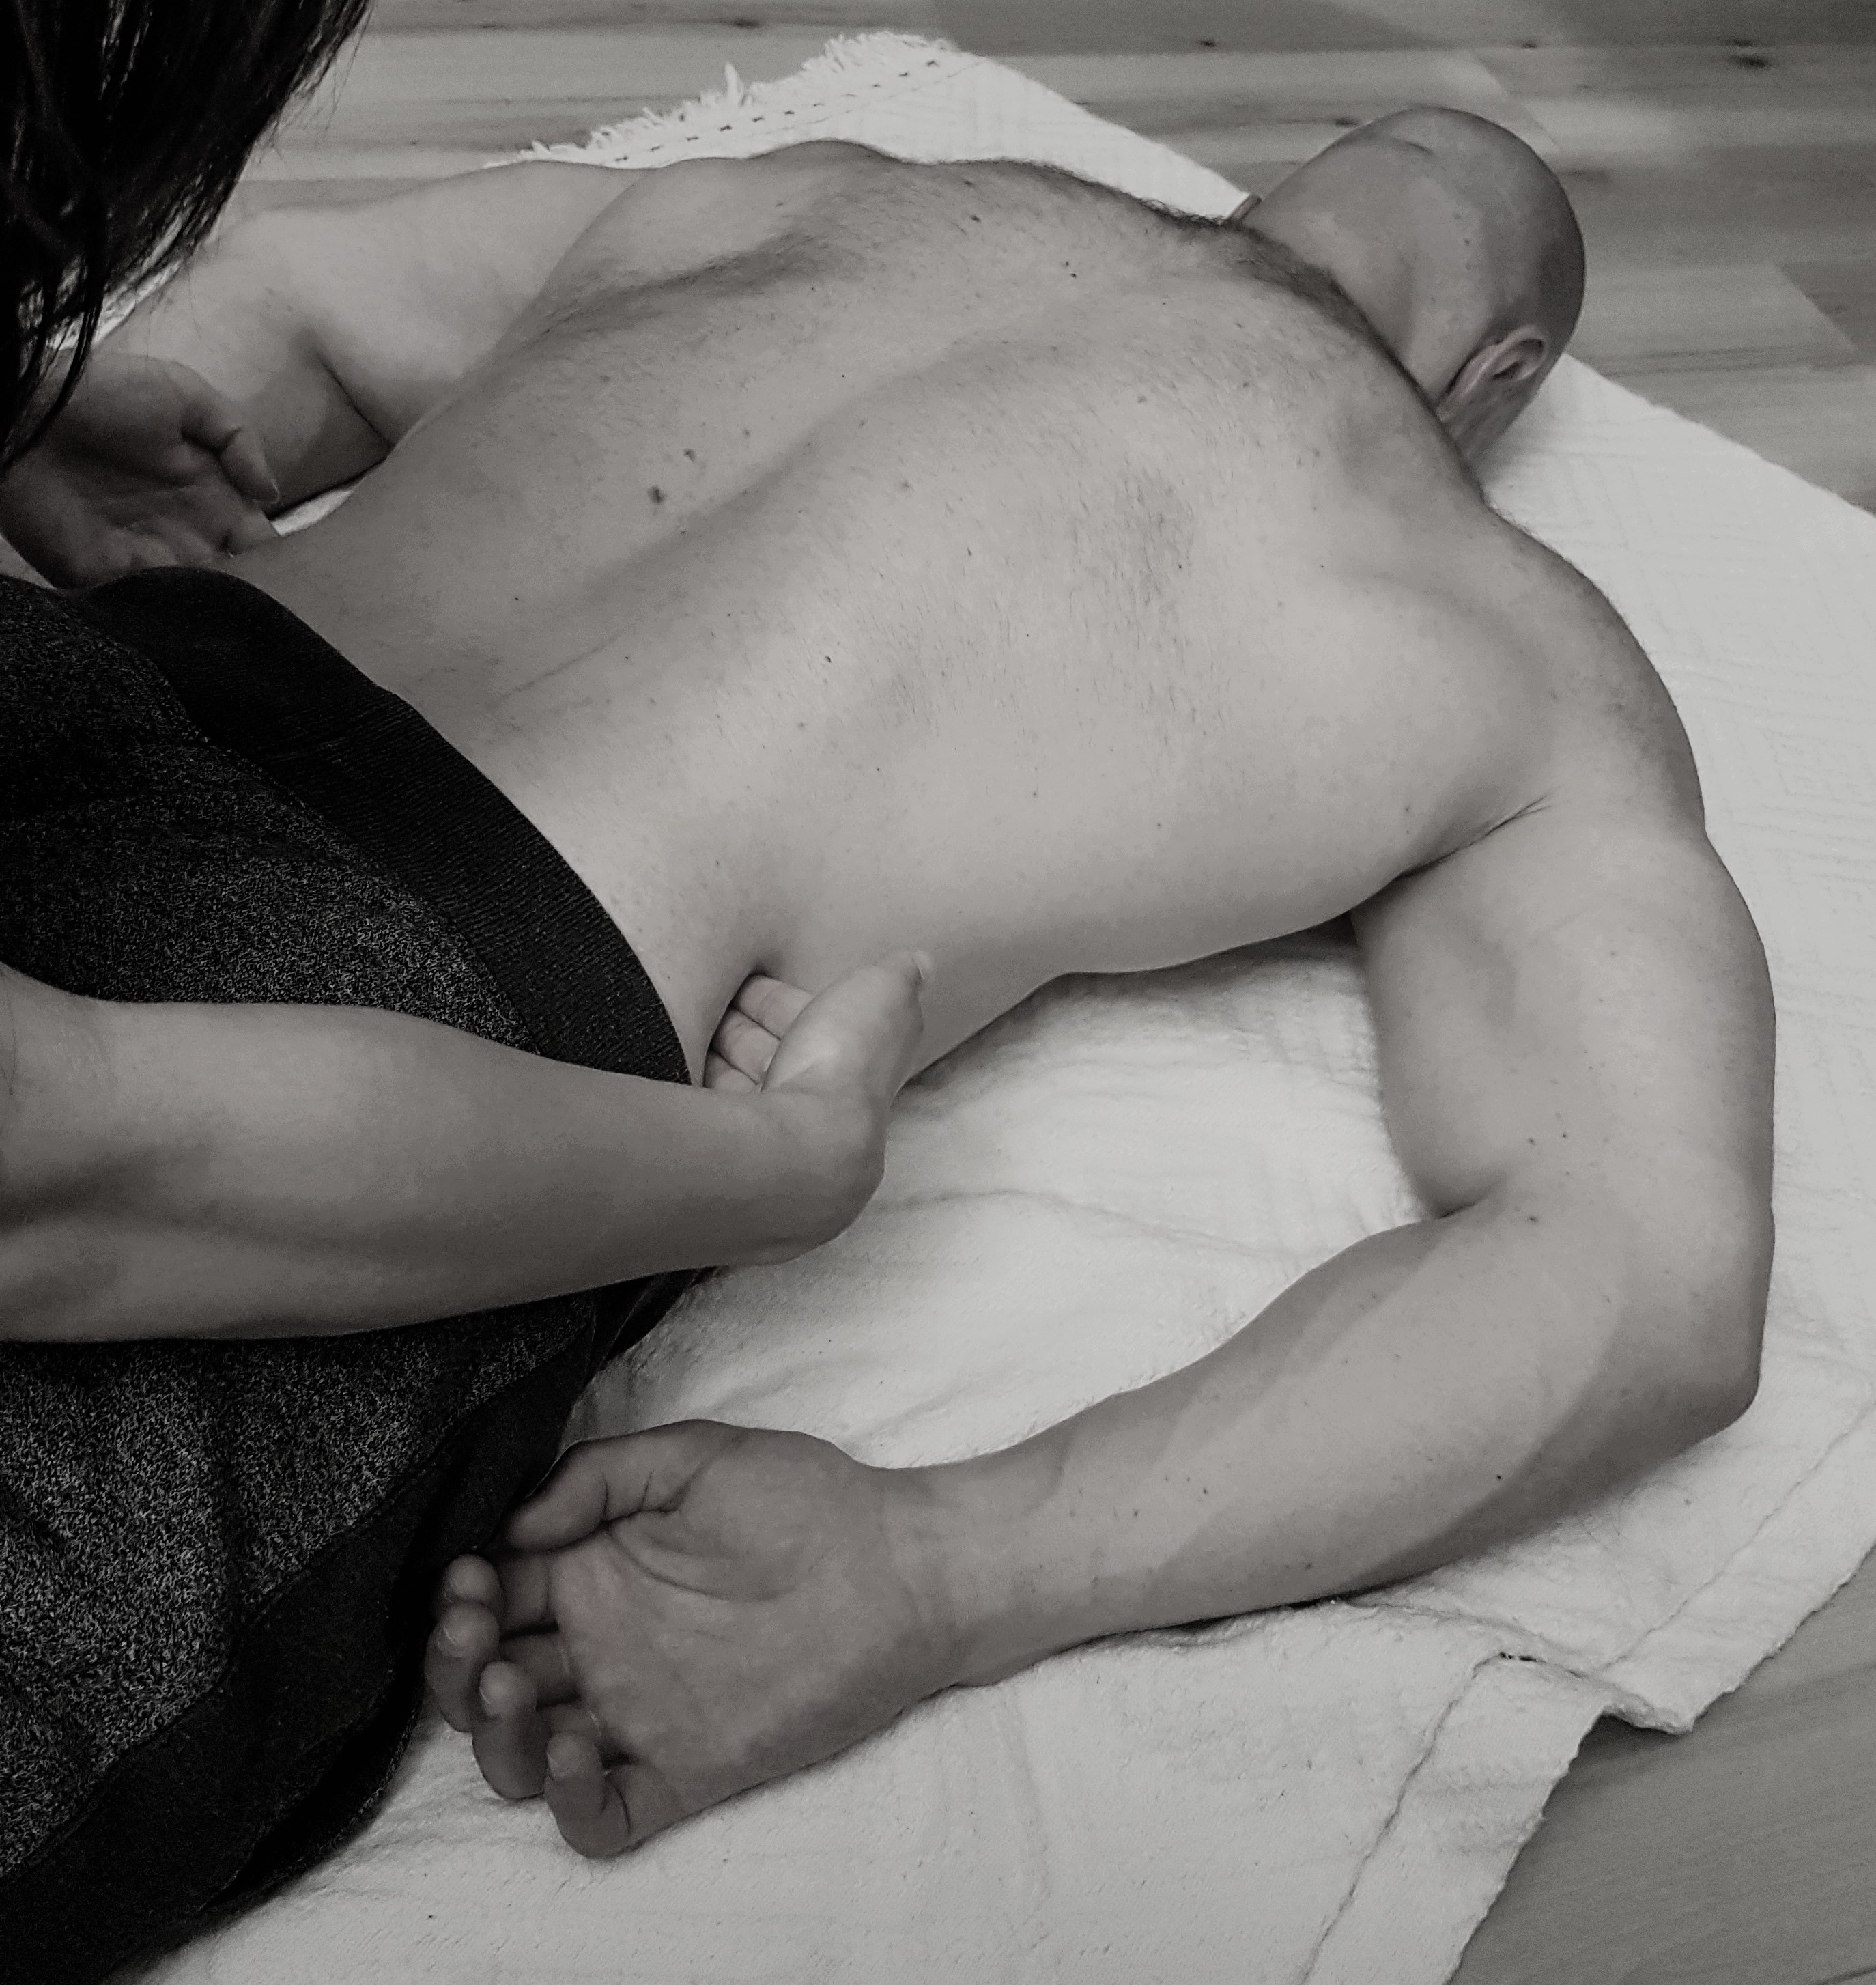
Picture 3 – first point of touch, hands moving away from
See “second touch point” (picture 4). Breath is directed to points where free ribs are located (side of trunk and under). Instructions are the same – spread out lower part of chest to the sides, supported by fingers (picture 4), which you can move away as soon as the first indication of inhaling is felt (picture 5).
Picture 4 – Second point of contact
Picture 5 – Second point of touch – fingers moving apart while inhaling
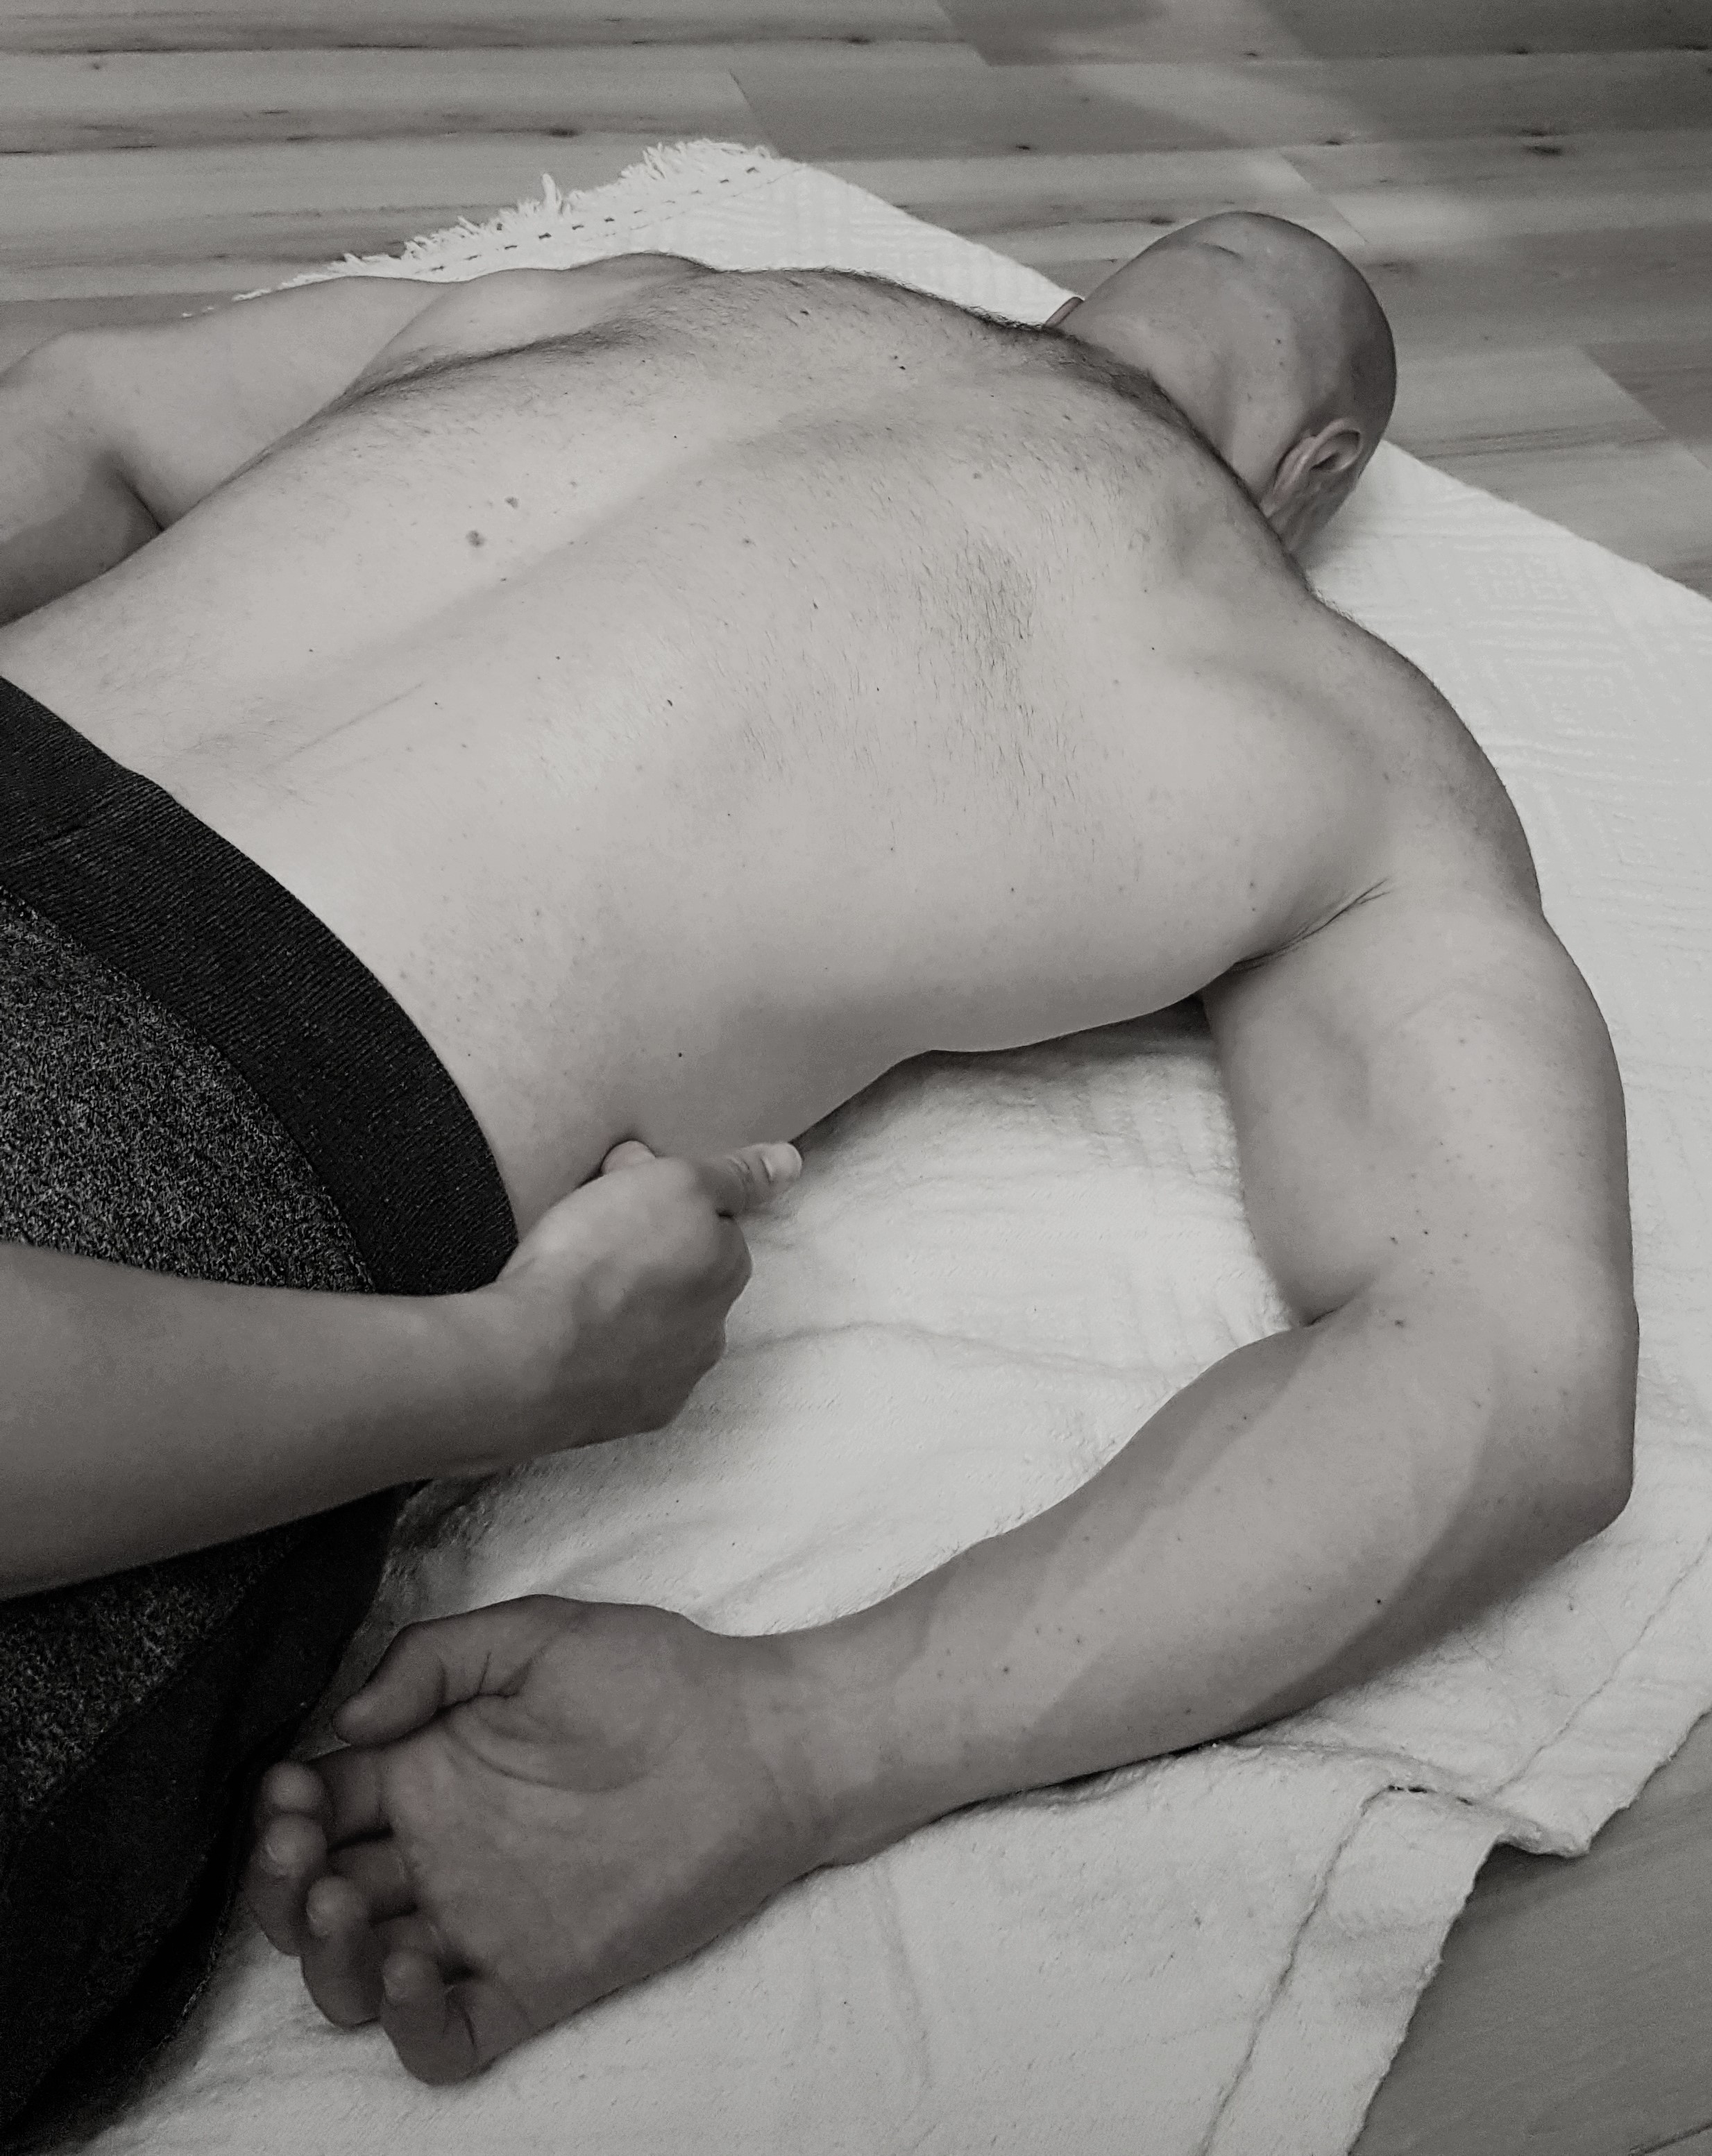
Picture 6 – inhaling into 4 points of touch
If you master the first two steps combine them and direct the breath into 4 spots. Use thumbs and index fingers on sides to create support and stimulation for inhaling into whole circumference of waist (picture 6).
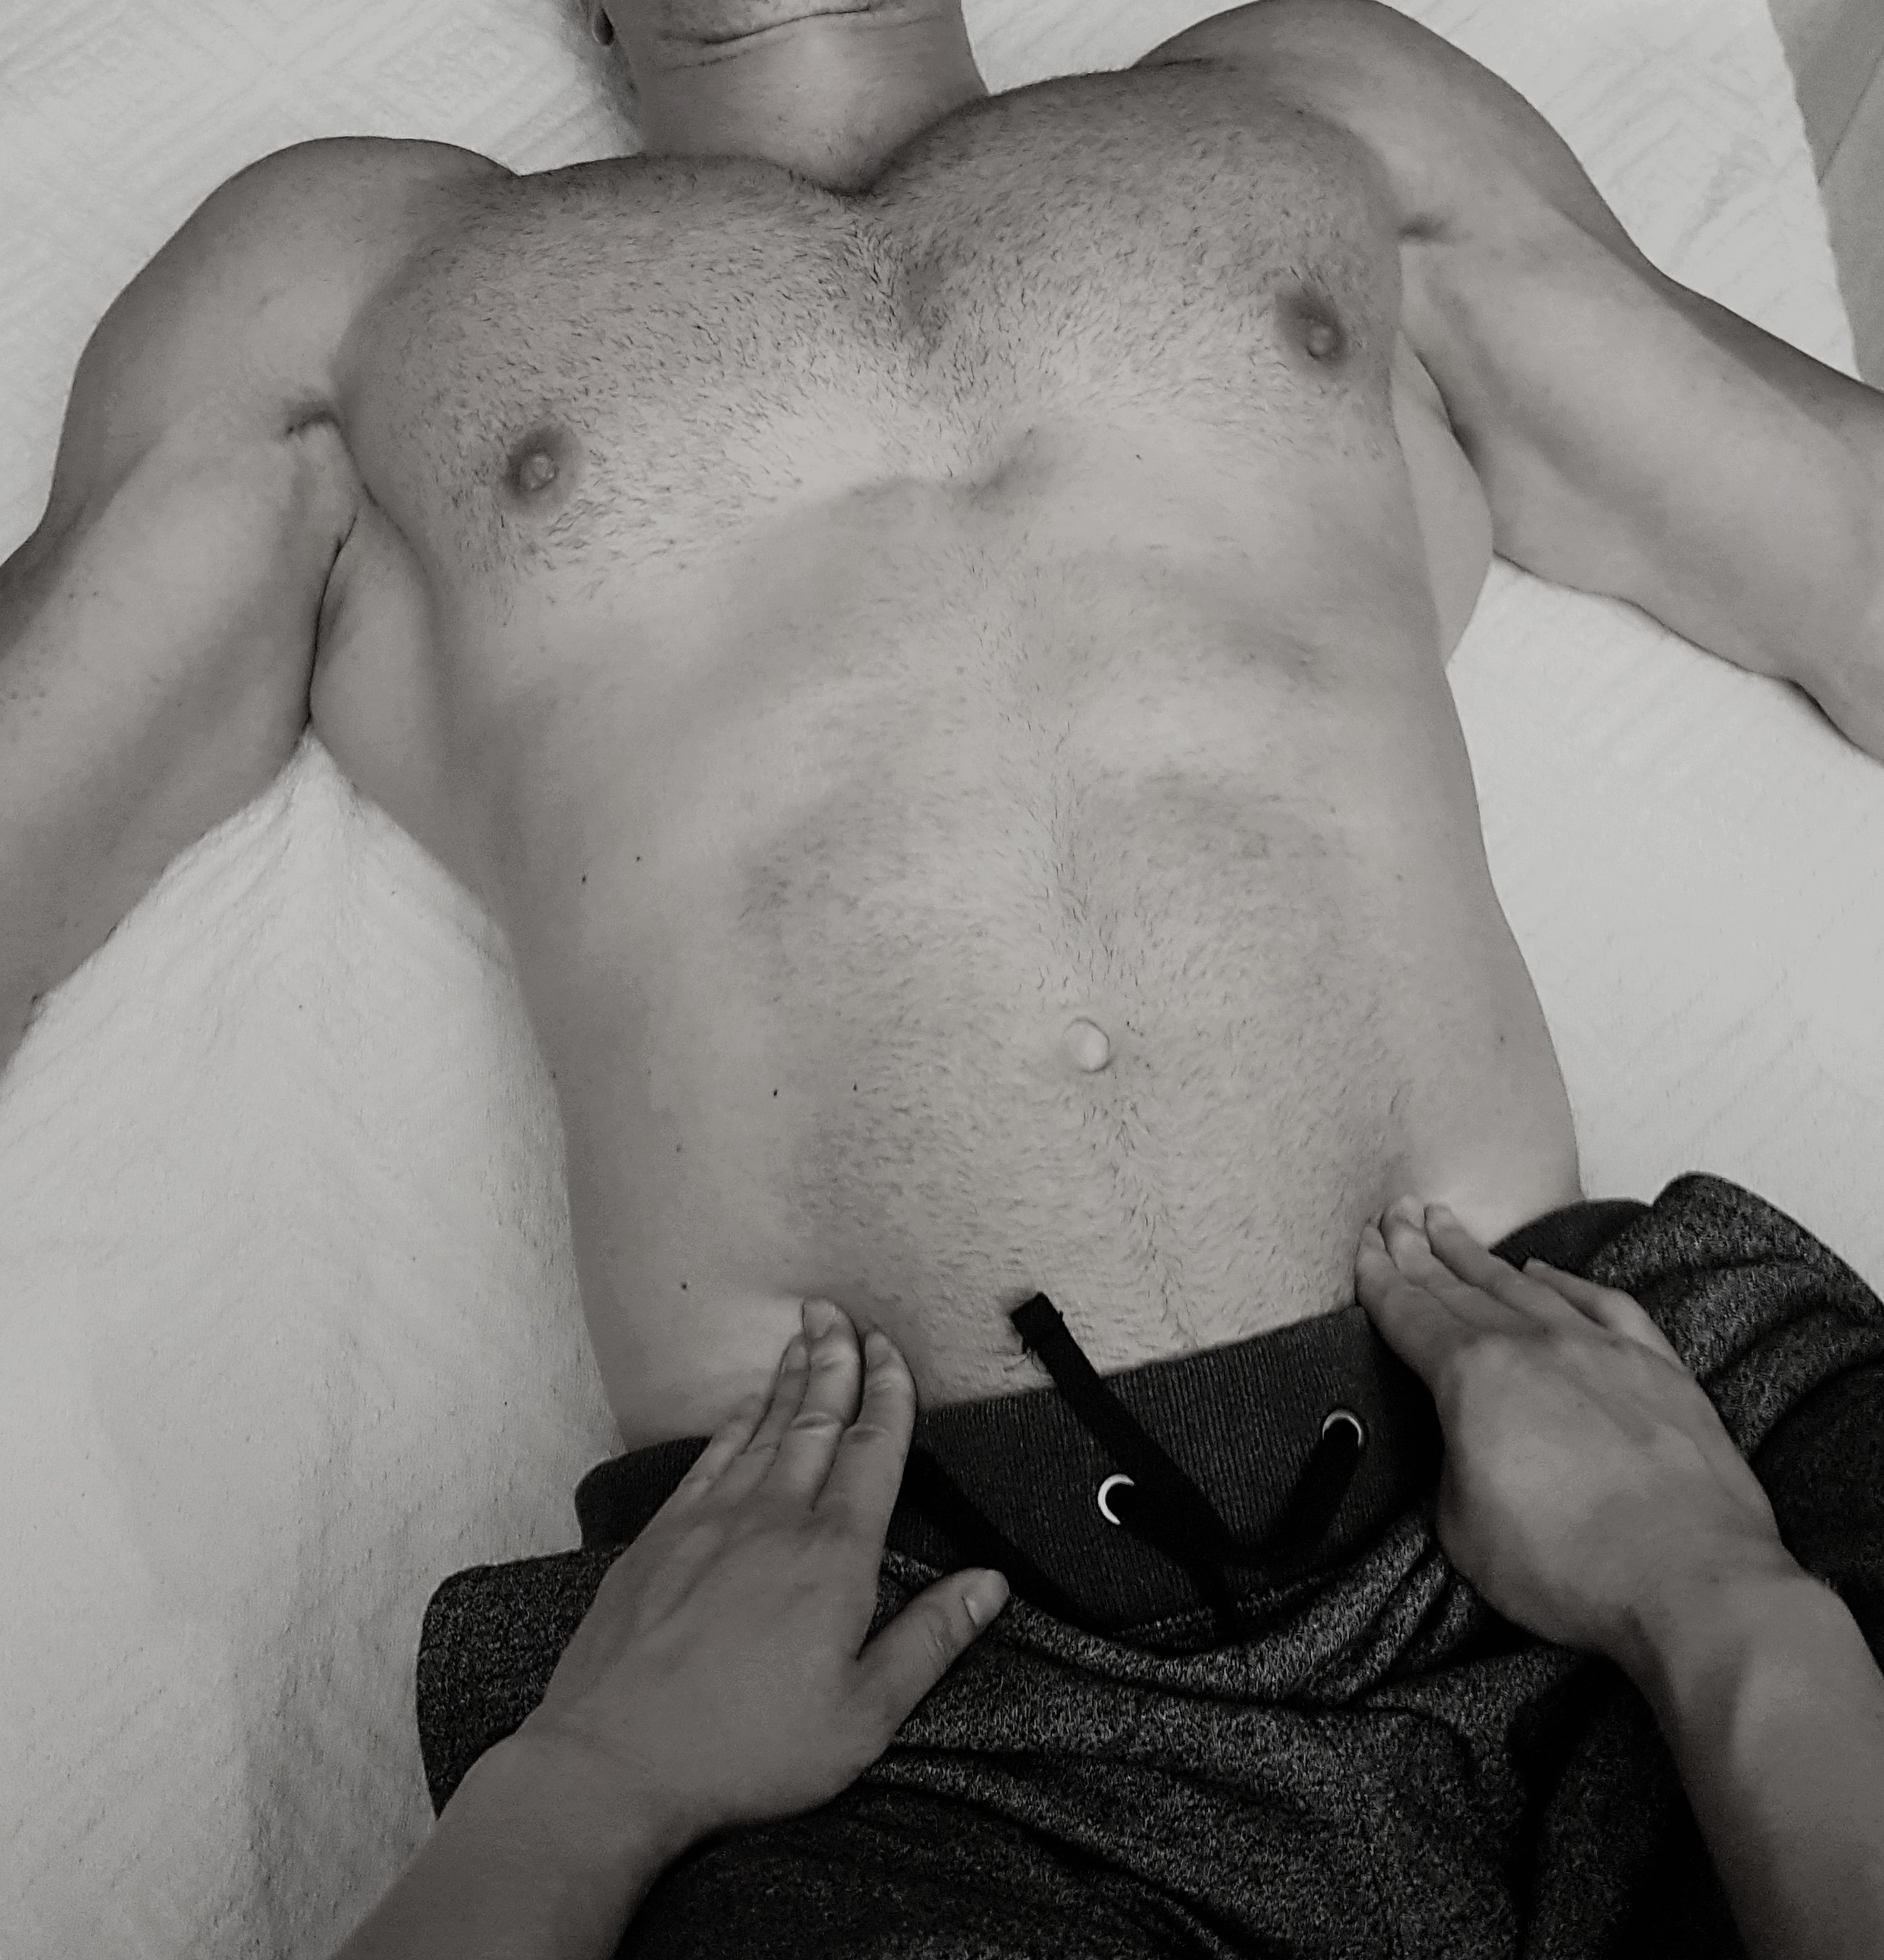
Picture 7 – third point of touch showed while lying on back
The “third touch point” is located slightly above groins which you cannot spot while lying on stomach. See picture 7 in lying position on back. If you are not able to inhale all the way down just inhale a bit higher and gradually progress to the desired location.

Picture 8 – third point of inhale – on stomach
If you cannot feel this “point of contact” ask your training partner to put fingers under and carefully place them above your groins (picture 8). This way, fingers are pushed down the floor and you will be able to feel if breathing is correct.